
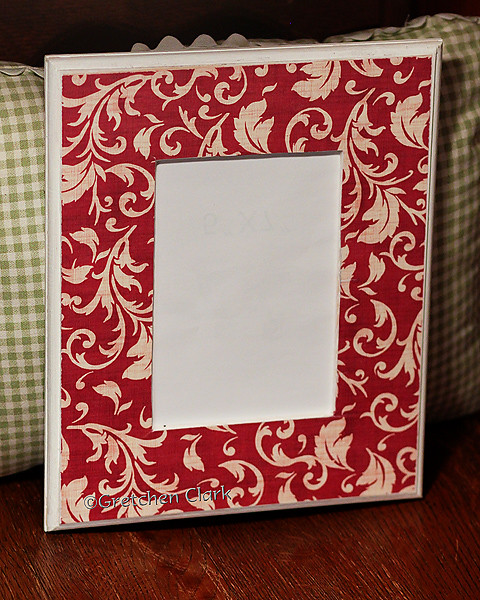
Here is a quick, inexpensive and easy holiday gift idea (love those!!!). While browsing in my favorite store the other day~I walked down the aisle with unfinished wood stuff (not sure of the correct term for those items, LOL!) and found this Frame that was $3.99 and on sale for 50% off (have I mentioned how much I love HL?). I immediately thought about a modge podge craft (I forgot how much I LOVE modge podge!!!), after spending some time in the scrapbook paper aisle...I came home and started assembling my holiday frame (seriously this took me about 30 min from start to finish).
And since I had some left over paper, I decided to whip up a matching card to go along with the gift. Because I had the modge podge and paint already in my craft stash~this project ended up costing me $2.59 gotta love that!!!

I have included a step by step photo board for you in case you want to whip up some of these for your holiday gift giving!!
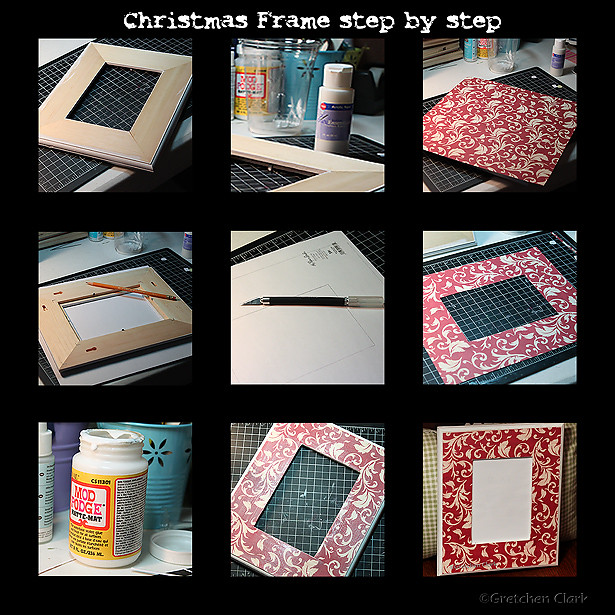
1. paint edges of frame with coordinating acrylic paint
2. trace paper to fit frame
3 cut out
4. apply thin layer of MP to frame; adhere paper
5. lightly coat top of paper with thin layer of MP; allow to dry
6. lightly sand (optional)
7. reapply another layer of MP; sand; allow to dry
8. add photo and Viola!!!
Happy Weekend Friends!
2 comments:
Gorgeous frame and card! Love the colours!
This is a gorgeous gift idea Gretchen! And your card is beautiful as always. Thanks for providing the step by step pics too, great for the visual learner like me :)
Post a Comment