Showing posts with label tutorial. Show all posts

Wednesday, January 29, 2014

gettin' a little crafty with my mug!!

I have been seeing Sharpie mugs all over Pinterest, and I have been wanting to make one!! So two weeks ago, I purchased THESE pens (since the reviews I have read say these do better with dish washing), and went to the dollar store and picked up some plain white mugs. I actually had to go to 2 different stores, because I think everyone must be making these, LOL!!


After I had all the supplies, I was nervous to actually start writing on my mugs.  What would I write/draw??  I can be so indecisive at times!!  I finally decided on a theme (pitties of course!!) and then started creating


Pin It
These pens write really smoothly.  I would recommend having some nail polish remover on hand, just in case you make a mistake or change your mind (which I did twice~see, I really am indecisive!!).  They are really fun to make and go really fast!!  When you finish your mugs, just let them dry for 24 hours then bake them in a 150 degree oven for 35min.  So far they have survived the dishwasher. 


I am thinking of ideas for plates, glasses, platters...
 OH the possibilities!!   
And how cute would it to have everyone sign a plate for a shower instead of a guest book?

Enjoy Today!

Friday, November 18, 2011

button bits and my boxy banner...

Happy Friday!!
Do you have any fun plans for the weekend??  Tonight Mike and I are having dinner with some friends from church, Saturday we are going to a birthday party, and Sunday is our {rescheduled} Family Christmas Photo shoot (rain or shine!!  I am taking photos!).  It should be a fun and busy weekend!!

Here is a quick card I whipped up last week.  Recently I have really been evaluating my purchases, since I have been on an organizing and purging kick!!  I am really trying to "think" about what I buy.  Of course I always want to hit the "I want it all button" on each PTI release, LOL!! 

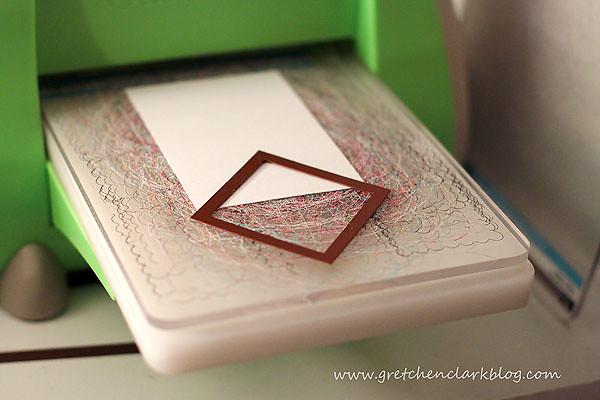
Recently, I was admiring a card made using the Boxy Banner's Die, and the light bulb went on...I can do that with my cuttlebug and Nestabilities!!  

Check it out...
Cuttlebug

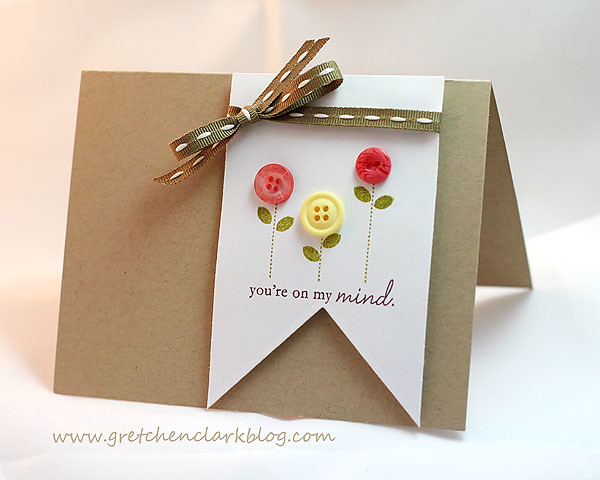
So here is my card with my homemade Boxy Banner :)

EBB on my mind

Enjoy your Weekend!!!


supplies used:

Tuesday, November 15, 2011

Tuesday randomness~trying my HAND at hand soap...

Hi all! 
You may remember a while back that I made my own laundry soap (which I LOVE), you can read about it and get directions HERE

Well, I decided to try my hand at hand soap, and it was just as easy!!  So I thought I would do a little tutorial, in case you'd like to give it a try too (you will feel so domesticated!!)

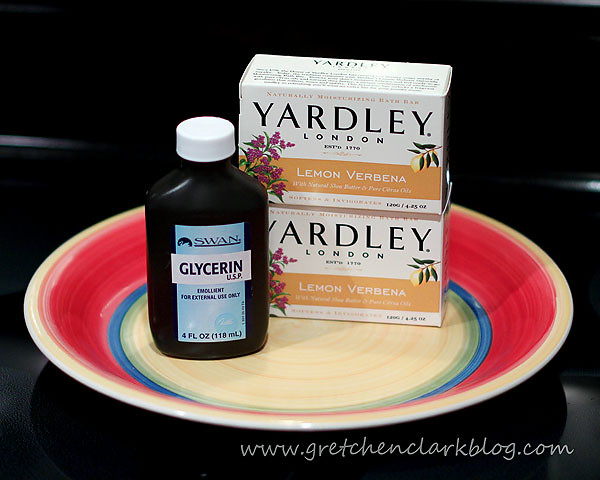
Ingredients: 
8 oz bar of soap (I used 2 4 oz bars) 
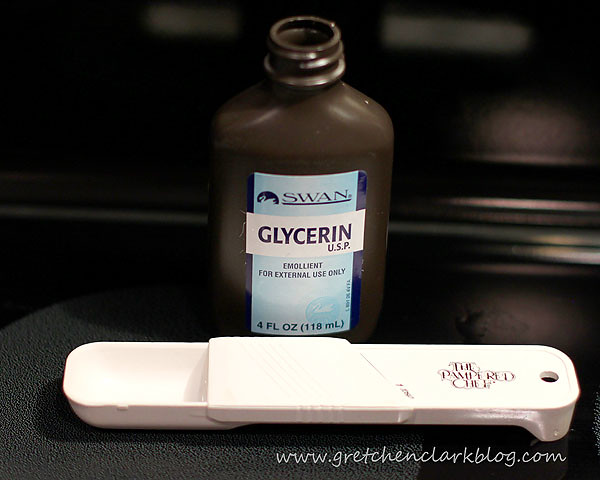
2 Tablespoons of Glycerin (found near the band-aids or behind the pharmacy counter)
1 gallon Water 

I really wanted to use This soap, but could not find it anywhere, next time I will order it online.


soap 1 rs

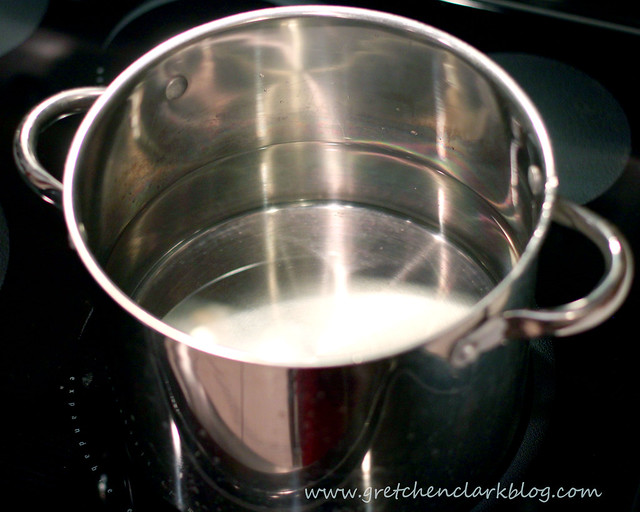
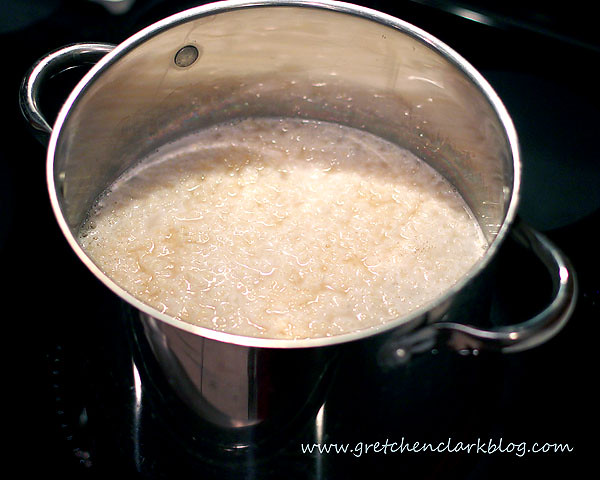
Turn your burner to med/med high; add 1 gallon of water to a large pot; heat until almost boiling.

  soap 2 rs  
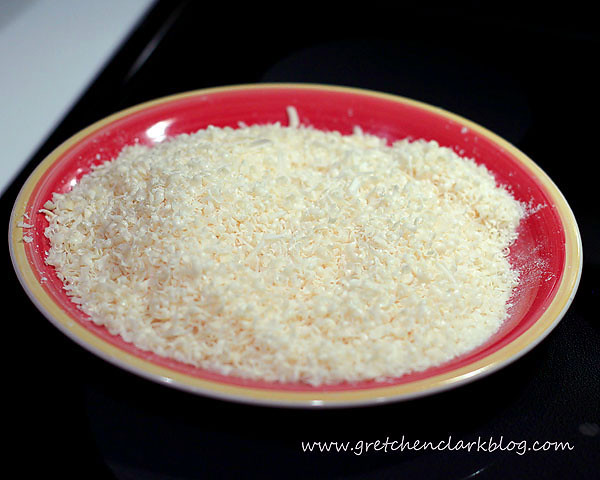
While your water is warming, grate your soap with a cheese grater (or food processor). *this is the hardest part of the process (I did it by hand, next time I am using the food processor).

  soap 3

Add 2 Tablespoons of liquid Glycerin to the Water.

  soap 4

Then add the grated soap to the water; stir until completely dissolved.

soap 5 rs

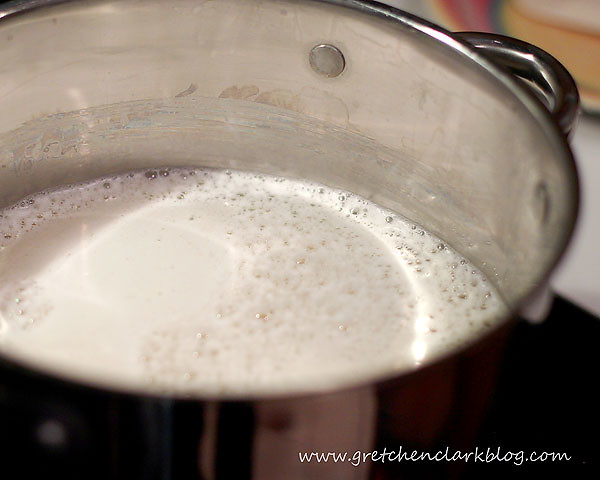
It will look like soapy water.

  soap 6 rs

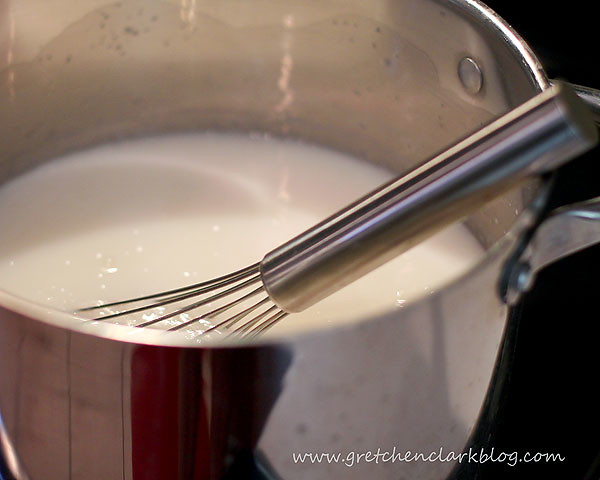
Let the soap mixture cool for 12 hours (I let it sit overnight and until the afternoon). The mixture will be pretty thick when it is completely cooled; if it is too thick; beat it with a whisk or beater and gradually add water until it is hand soap consistency.

 soap 7 rs

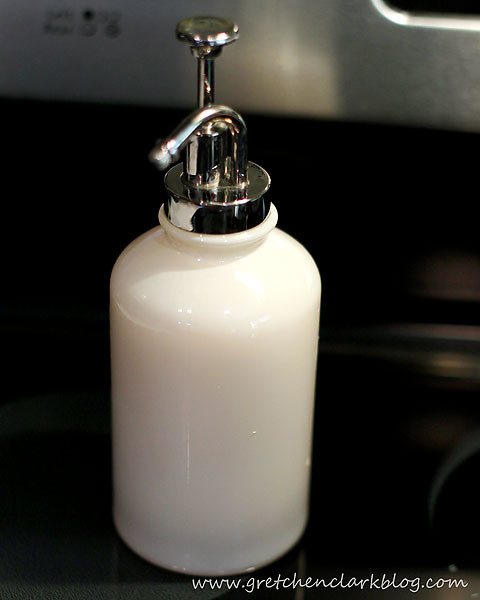
 Fill your hand soap dispensers.

  soap 8 rs

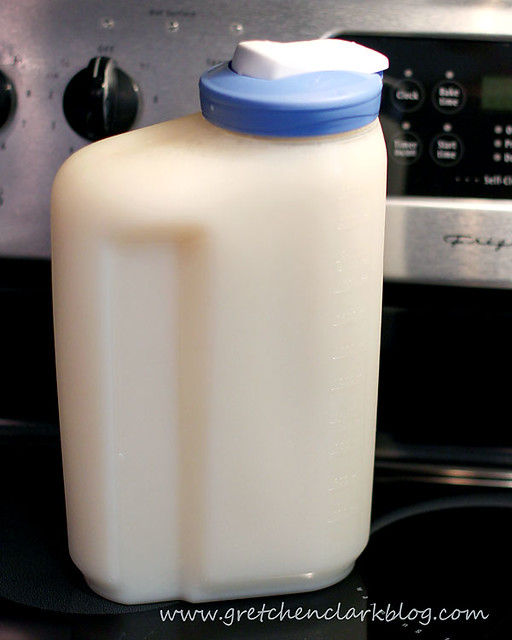
It makes a lot, so have a container ready to store the rest.

soap 9 rs

And there you have it!! 
Pretty easy and economical (my supplies cost me around $5 and I have plenty of glycerin left to make several more batches).

Let me know if you try it!! 

Enjoy Today!! 

Supplies: 

Wednesday, March 23, 2011

how I take my blog photos...

Hi all,
I put together this informational post on how I photograph my cards for my blog. I have learned a lot since my early blogging days and am happy to pass it along :)

Camera: This is the camera I am currently using, however, I am a firm believer that it is not the camera that gives you better photos!!! A point & shoot will work just fine.

start off by learning how to use your camera (I used the auto button for years before learning how to operate my camera), Now I shoot in manual, which give me much more freedom and flexibility than automatic. If your camera has a manual setting I encourage you to play around with it and learn how to shoot manually. This class helped me tremendously!!!

White Balance: the definition of WB is right here. This feature is usually under the menu options on your camera. Because different types of lighting give off different color it is important to set your WB on your camera (this is the reason why some photos look blueish or yellow). Most of the time auto is fine, but if I am using artificial lighting I will usually change it.

Settings: Use the Macro setting (or Manual) on your camera (Macro is indicated with a flower symbol, Manual is indicated with an M), for close up photos. Make sure to focus on the center of your image and keep your hands as still as possible to avoid blurry photos. I tend to fill the frame of my camera with my image (less to crop later). Take a few photos, even if the image looks good in the live view (sometimes that little view can be deceiving).

Lighting: Natural lighting is always best, but lets face it, a lot of times I am photographing my card at 8pm at night. I use this light box, but for the first 2 years of blogging I used a DIY one, instructions are here. Make sure your image in not in direct light to avoid shadows. Once you find a setting and lighting situation that works well for you~use it all the time to keep the consistency in your photos.

Here is an example of my old set up (DIY light box):
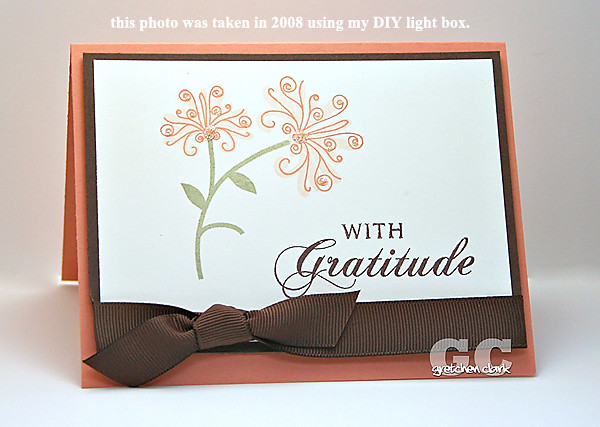
photo example diy lightbox

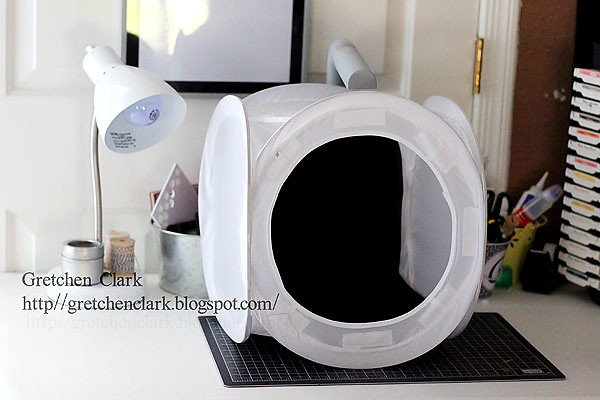
Here is my current set up:

light box 1
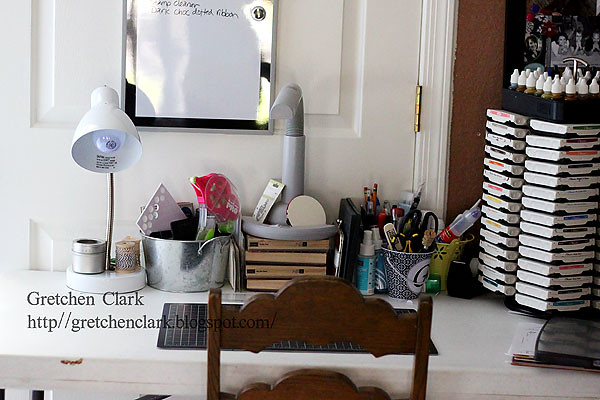
my desk

light box 2
light box (I keep my lights in the same position always~which makes it easier to get the consistant lighting I want).

light box 3

my card is ready for it's photo shoot :)

Backgrounds: Choose a background for your item that will "pop" your image. I personally like black, but that is just my preference. Think contrast!! You want to stay away from background colors that are similar in color to your card, which makes it hard to see.

Other tips: Take photos from various angles, top or side. And take lots of photos. I usually find that out of 5-10 images, I usually have one that is "blog worthy", meaning it is in focus and the color looks good.

Editing: I currently edit my photos with Photoshop CS4 (if you have a student, of any age, in the house you can get it at a huge savings here.). I originally started off with Elements (Elements 4 to be exact), and that is a great program as well. There are also free programs out there that I hear work great, like this one.

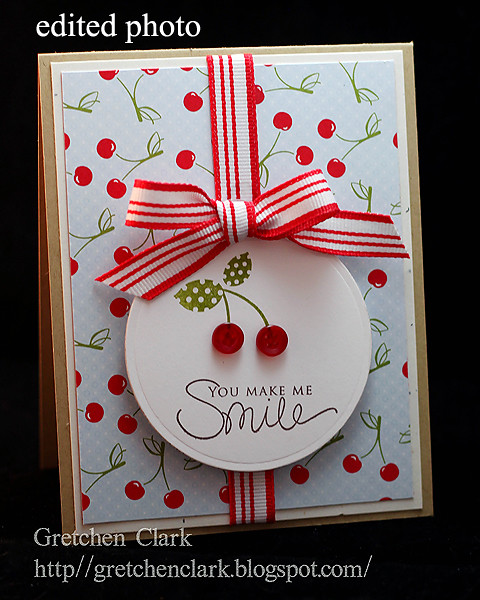
Once I upload my photos into CS4 I usually always adjust the brightness and contrast to my liking. Once I get my photo looking the way I like, I crop it (I usually do an 8x10 crop, because I like the square shape). Then I watermark my photo (I made my watermark into a brush, which is kind of like a stamp, in Photoshop then I just stamp it onto my image, instructions are here.). Then I sharpen and resize my image for the web.

Here is an example:
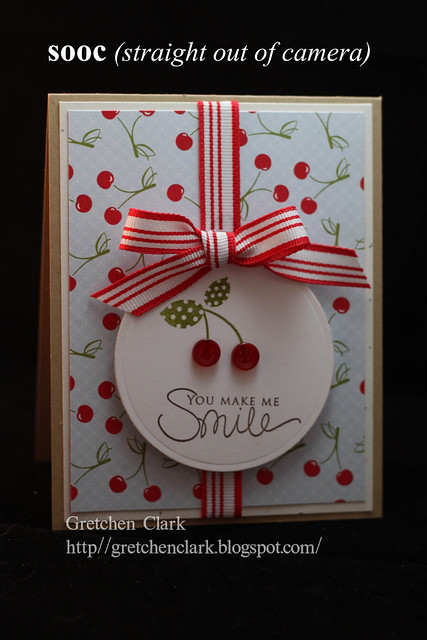
photo example sooc

photo example edit

Sharpening: photos for web viewing usually requires sharpening and resizing. I use an action that I LOVE!!! (action-is a series of steps recorded in photoshop~like a shortcut, that you load into the program and hit play and let it do the work for you). The action I use is called Heidi's resize and sharpen, which is a free download, but the only way to get it is to become a member of the http://www.ilovephotography.com/ forum (which is also free to join). If you have Photoshop or Photoshop Elements and want to download the action, sign into your account at ilp and then find the link here. This action will also resize your photo to 72 dpi so the file does not take forever to upload and cannot be printed.

Flickr: Once my photo is sharpened and resized, I upload my photo to Flickr and copy the large file size html code for my blog, then paste. Step by step tutorial here.

Remember: Taking good photos is a learning process (which I am a student), Enjoy the learning process, of course it is natural to be frustrated (luckily digital photos can easily be deleted and don't cost anything to take)~but if you stick it out you will be rockin' that camera!!!

ok~go take some pictures!!!

Wednesday, July 21, 2010

doorknobs...

I thought I would share a little home improvement tutorial. I actually did this project all by myself *woot woot* (well Mike took the knobs off and put them back on).

I am not a fan of shiney gold (outdated) doorknobs, but to replace all the knobs in our house would cost a fortune (and I would rather spend that $$ on stamps, right?).

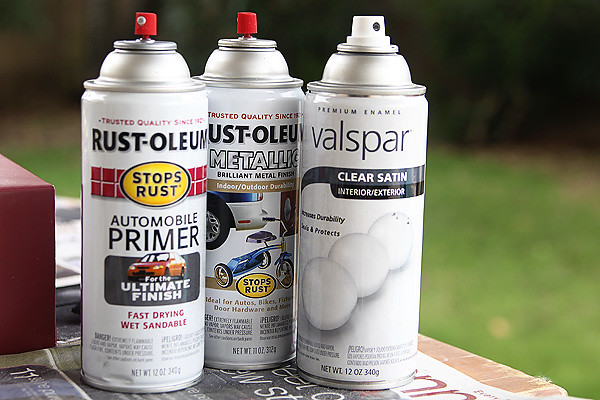
Supplies needed: Auto primer/Brushed Metallic- oil rubbed bronze/Protective non yellowing clear finish.

Total supply cost-- around $15

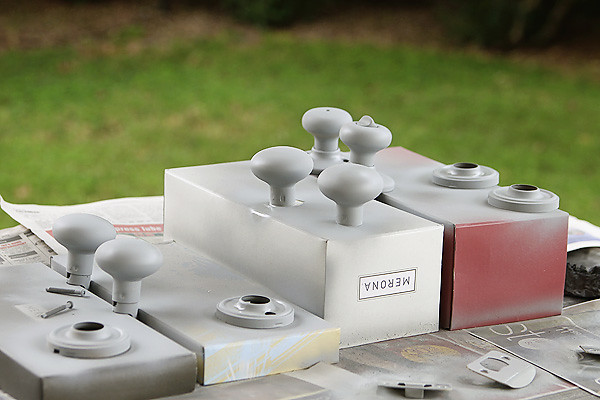
doorknobs 1

Step 1
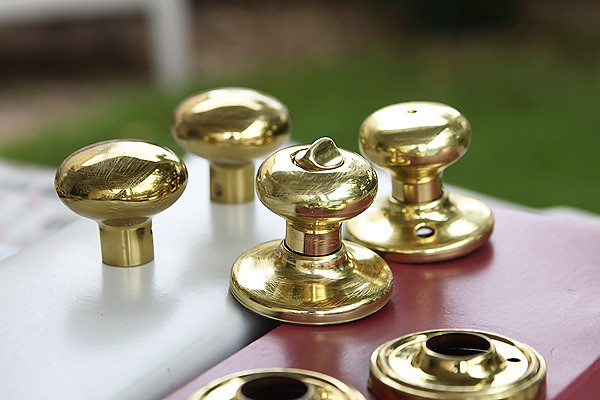
Lightly sand the doorknobs- (It really is pretty easy to scratch the lovely gold finish so this step isn't as painful as you'd suppose except when you have a lot of doorknobs than it gets pretty darn boring).

doorknobs 2

Step 2
Spray Primer (make sure you shake the can for about a minute then spray in a back and forth motion. It is better to do a few light coats rather than one heavy one). Let dry.

doorknobs 3

Step 3
Spray color (this is the fun part!!! use the same back and forth motion and a few light coats, like the primer layer). Let Dry.

doorknobs 4

Step 4
Spray protective finish. Let Dry.

Viola!!! EASY PEASY!!!!

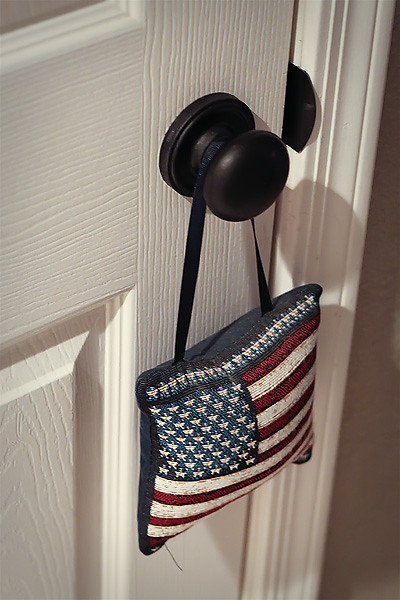
doorknobs 5

*no scratches yet, the finish is really durable* Now I need to do all my upstairs knobs~maybe this weekend!

Enjoy today!!